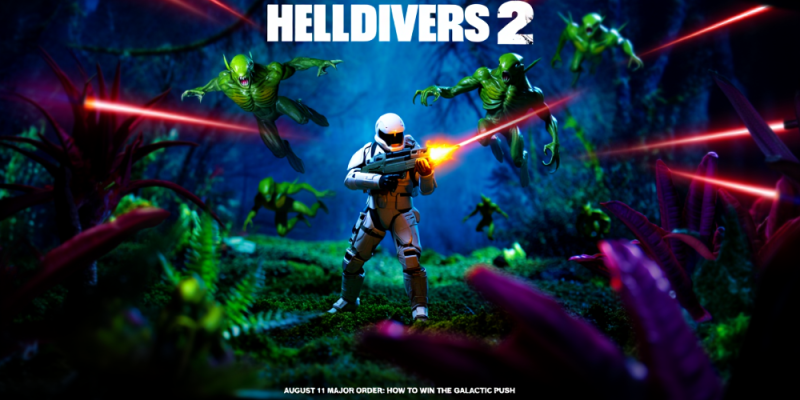
Helldivers 2’s August 11 Major Order: How to Win the Galactic Push

Another Major Order drops today, and you can feel the war map humming as Super Earth High Command rallies every active unit to a shared objective window. If you’ve been away for a few days, this is the perfect moment to jump back in: Major Orders are the heartbeat of Helldivers 2’s live campaign, condensing the community’s firepower into a focused push or emergency defense that reframes priorities across multiple sectors. They typically tie your personal sorties to a larger win condition, paying out extra Medals, Requisition, and Warbond progress while nudging squads toward targeted planets, mission types, and enemy archetypes. The practical upshot is urgency and clarity: fewer distractions, more coordinated action, and faster movement on the Galactic War meter when everyone rows in the same direction. Even if the specific target shifts over the day based on regional momentum, you’ll notice familiar rhythms: synchronized liberation fronts, time-gated defensive stands, and optional bonuses that reward squads for precision under pressure.
Main Part
Start by reading the Order card on the War table before you deploy. It tells you what counts. Some Orders hinge on raising liberation percentages across a cluster; others prioritize stabilizing a line by winning Defense missions that protect supply corridors. When an Order points at a faction rather than a single planet, think in terms of tempo: Automaton fronts punish slow pace with fresh patrol routes and armored counterattacks, whereas Terminid territory escalates in density if nests go unchecked. Track planetary conditions as they rotate: visibility, hazards, and spawn modifiers can quietly decide your run before the first drop pod lands. On the map, look for the shortest path to stackable progress: missions that eliminate high-value infrastructure, evacuate personnel, or enable artillery often push the needle faster than long free-roam distractions. Because personal Orders and Daily objectives can dovetail with Major Orders, plan a route that lets you clear both at once and multiply your medal intake without wasting deployments.
Bring purpose-built kits. Against Automatons, prioritize armor penetration and disabling tools: Railgun with safe-charge practice, Recoilless Rifle or Autocannon for consistent vehicle crackdowns, and Quasar Cannon for flexible burst damage. Pair these with EMP Grenades, Anti-Tank mines, and Shield Generator backpack to survive sudden crossfire while you reposition. Turret-wise, EMS Mortar can pin lanes so your squad can collapse angles on Devastators and gunships, while a well-placed Rocket Sentry erases walkers when they stray into kill zones—scratch that—dominant zones you control. For Terminids, lean into crowd control and area denial. FLAM-40, Incendiary Grenades, and Gatling Sentry clear swarms, while Stun or EMS effects rescue teammates from bile-spewing heavies and chargers. Primary weapons should match the plan: Breaker variants for close quarters, R-63 Diligence Counter-Sniper for weakpoint precision, and SG-225 for nest busting. Mix a Guard Dog Rover or Airburst Rocket Launcher as a spare lane holder, and never overlook resupply cadence; a steady ammo rhythm beats a flashy stratagem you can’t feed.
Mission selection can make or break an Order window. On Eradication and Bug Extermination, don’t chase every ping; focus on nest clusters first, then sweep stragglers as you backtrack to extraction. In defense scenarios, build a perimeter before the first wave by placing mines in choke points, staggering sentries to avoid friendly fire arcs, and pre-marking fallback lines. During Retrieve Essential Personnel, escort with two players while the other pair leapfrogs recon up the path, clearing ambushes and laying down EMS or incendiaries at narrow passes. On Automaton sabotage tasks, prioritize Comms and Fabricator sites; shutting down spawners reduces attrition and buys you time to finish objectives. When Upload or Data Retrieval appears, one player should operate the uplink while others run a roving screen, rotating counterclockwise around the point to intercept pushes before they snowball. Use stratagem callouts with concise language, confirm lanes before orbital fire, and restrict turret coverage so they aren’t dueling your squad at the worst possible moment.
Conclusion
Major Orders are at their best when the community leans into momentum. Today’s push is a chance to tidy your ship modules, sync with a squad, and chase medals while making a visible dent in the war. If you’re solo-queuing, set expectations in chat: who carries armor-piercing, who brings crowd control, and who packs utility stratagems like Smoke, EMS, and Supply Packs. On the ship, prioritize upgrades that shorten stratagem cooldowns, boost ammo throughput, and enhance beacon accuracy; they convert directly into fewer wipes and faster objective clears. Keep an eye on Order progress and be willing to pivot planets if the front shifts—wasted deployments are the hidden tax that slows everyone. Above all, play the objective, not the scoreboard. The map notices teams that finish tasks cleanly, defend lanes with discipline, and extract on time. Do that for a few hours during an Order window and you’ll feel the entire sector tip. Suit up, set your inputs, and make this push count for Super Earth today.


