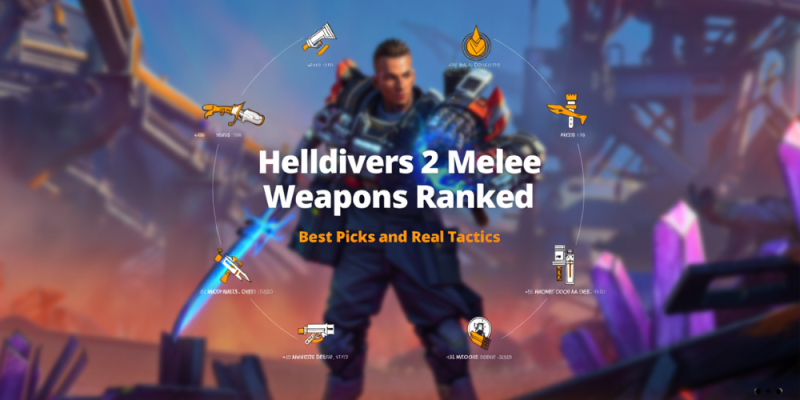
Helldivers 2 Melee Weapons Ranked: Best Picks and Real Tactics

Let’s talk about melee in Helldivers 2 the way it actually plays out in missions: messy, high-stakes, and unbelievably satisfying when you time it right. Ranged options set the tempo, but a good melee tool is your emergency brake and your space-maker when swarms turn a lane into a funnel. It conserves ammo, avoids explosive friendly fire, and buys clutch seconds to revive, reload, or reposition. Not all melee is equal, though. Animation speed, stagger strength, stamina cost, and target matchups turn small differences into big outcomes. Bugs and bots demand different answers; light Terminids melt to quick slashes, while Automatons punish greedy lunges with hitscan fire. The right armor perk can turn a risky poke into a clean stagger chain, and the wrong one makes you tire out mid-scrap. Below, I’ve ranked every practical melee option you can bring to the field right now, explained the why behind the order, and laid out muscle-memory tactics that keep you alive when the line collapses. Treat this as a field guide: concise, blunt, and focused on what helps you and your squad walk the objective out under heavy pressure.
Here’s the ranking and the logic behind it when the dropship doors open and everything is moving. Top tier goes to stun-capable batons because control beats raw damage in Helldivers 2. A reliable shock hit that staggers small-to-medium hostiles lets you chain two or three takedowns without giving the pack time to surround you. The swing is crisp, aim correction is forgiving, and it plays beautifully with stamina perks, turning chaos at extractor ramps into manageable pockets. Next is the classic combat knife (or equivalent fast-strike melee). Its power is tempo: ultra-quick animations, low stamina tax, and consistent execution on chaff targets. It’s perfect for trimming the front of a swarm while you backpedal toward cover or for finishing a limping bot scout that slips past your lane. Third is the ballistic shield bash when you’re running a shield-and-sidearm package. It’s situational but underrated, giving you a short-range stun cone while your pistol cleans up. Bash into a headshot becomes a rhythm that feels surgical. Finally, the universal stock strike sits at the bottom. It’s always available and can clutch a single stagger, but the animation is slower, recovery is longer, and it punishes over-commitment. It’s a safety valve, not a plan. Use it sparingly, preferably as a cancel out of a reload when something breaches your personal space.
Tier List Snapshot
- S Tier: Stun-capable baton — best crowd control, safest chain potential, pairs with stamina and melee perks.
- A Tier: Combat knife/fast-strike melee — quickest animation, low stamina drain, great for light enemies and finishers.
- B Tier: Shield bash (with ballistic shield loadout) — tactical stagger that enables pistol confirms and safe revives.
- C Tier: Default stock strike — emergency-only; use to create space, then swap to primary or reposition.
Perks and armor decide whether your ranking holds up under pressure. Peak Physique-style bonuses that boost stamina regen and sprint speed are gold for baton and knife play; you cover more ground between swings and recover faster if you whiff. Servo-assisted melee modifiers push light targets into one-tap range and expand your stagger thresholds on mediums, but remember they don’t magically solve heavy armor. Extra Padding (or comparable durability perks) increases your margin for error during crowd bumps, letting you absorb a stray hit while you create space. Med-Kit turns risky pokes into sustainable attrition over a long fight; stim just before you commit so you bank regen during the animation. On the stratagem side, Eagle smoke and Mortar Sentry are MVPs for melee lanes: smoke breaks line-of-sight while you clean the front row, and a mortar draws aggro off your flank so you’re not blindsided mid-swing. Always anchor your melee plan to your squad’s damage map. If someone is running rail or recoilless, give them a clean lane; you handle chaff suppression within a defined bubble and call targets you can safely stagger.
Matchups matter more than the weapon name on your back. Against Terminids, aim low and angle your swings to clip multiple legs; even a partial stagger collapses their pathing and buys room to step out. Burst forward, strike, then half-step diagonally to avoid body-blocks—tiny footwork wins fights. Never challenge Chargers or Bile Titans up close unless you’re finishing a stunned animation window created by a teammate’s heavy weapon; your job is to keep small threats off the heavy gunner and protect revives. Against Automatons, be disciplined. Use melee to delete isolated scouts, tripwire bots, and downed crawlers; do not lunge through open sightlines where rifle squads can rip you apart. Shield bash shines here: bash, sidestep, and Mags dump a controlled burst. Universal rule across factions: cancel greed. One swing and a reset beats two swings and a ragdoll. Treat stamina like ammo—spend it only when you can complete the sequence, and always leave enough to sprint out. If you feel the pack swelling, throw a grenade behind them to herd forward, then carve the front as they compress. Communicate your intent—“crashing front,” “stunning left,” “shielding revive”—so your teammates shift fire and let you do your job.
Conclusion
Here’s the takeaway you can trust in any biome, any weather: control beats bravado. A baton that stuns on contact is your safest close-quarters tool, a knife’s speed is your tempo setter, a shield bash is your surgical opener, and the base strike is your mechanical bailout. Build around stamina and survivability, stage your lanes so heavy ordnance can breathe, and treat melee like a scalpel that shapes the fight rather than a highlight reel machine. Practice the fundamentals in low-threat patrols—swing timing, diagonal resets, reload cancels, and quick pings—so they’re automatic when a priority objective turns into a three-minute hold under full pressure. If your squad buys into that discipline, melee stops being a panic button and becomes a reliable economy play: fewer bullets wasted on chaff, more uptime on big targets, and cleaner extractions where everyone boards with supplies to spare. That’s the quiet edge great teams carry from drop to drop. Use it well, and the next time a lane collapses you won’t just survive the crush—you’ll bend it, create a pocket of calm, and give your squad the seconds they need to finish the mission with style.


